This will be the last single mission report I make on F/A 18. Following reports will center on the campaign.
This single mission involves a night strike flight to take out take out
SAM and AAA sites. The mission is designed for co-op multiplayer, with
two flights of four fragged for the target area.
The target area is about 80 miles from the carrier group. I've included
virtually every screen I accessed in order to accomplish the mission,
along with a few in mission action shots. I altered the time of day in
some of these shots and adjusted gamma in a couple of others. Flying at
night is truly black and you won't see anything but lights and fires,
stars and the moon, and moonlight caught by clouds.
Mission Prep and Planning
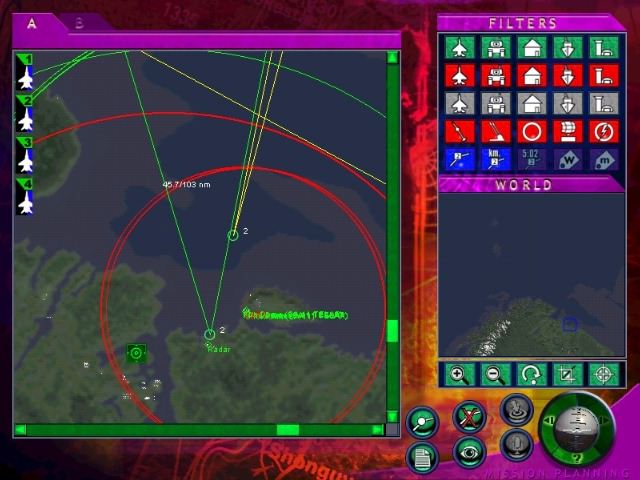
Mission Map
Mission Map Zoom 1
The map is configured with virtually all viewing options on. SAM and
AAA ranges are in red, radar ranges in green. The next zoom is one
click higher, but there are no real limits and you can go in for max
detail and target location. You can selectively turn off SAM and radar
coverage threat circles if you prefer. Map labels and distances between
waypoints are also ON by default.
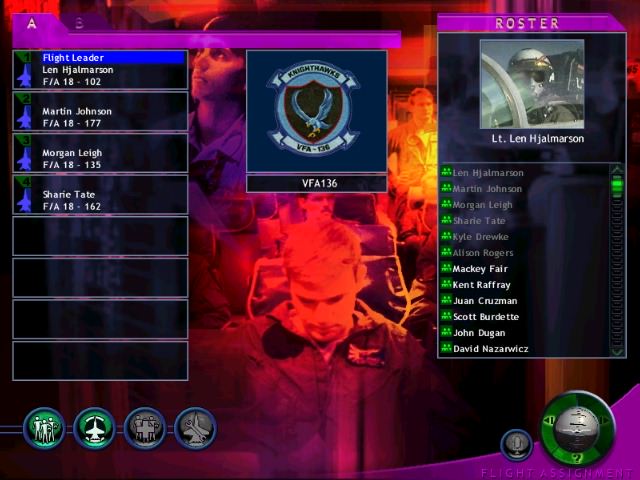
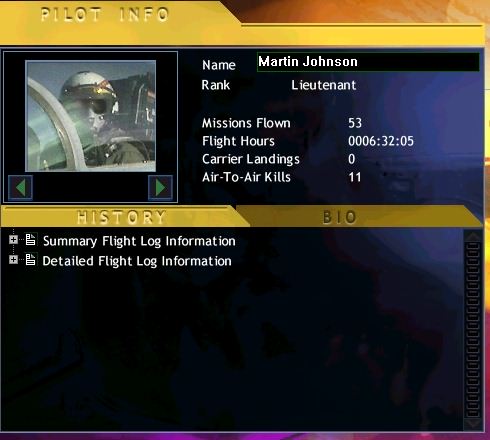
After adjusting any waypoints you may choose to alter the structure
of the flight by choosing different pilots or different aircraft. In
this case I have gone with the default pilot section. The next screen
shows the experience data on my wingman, Martin Johnson.
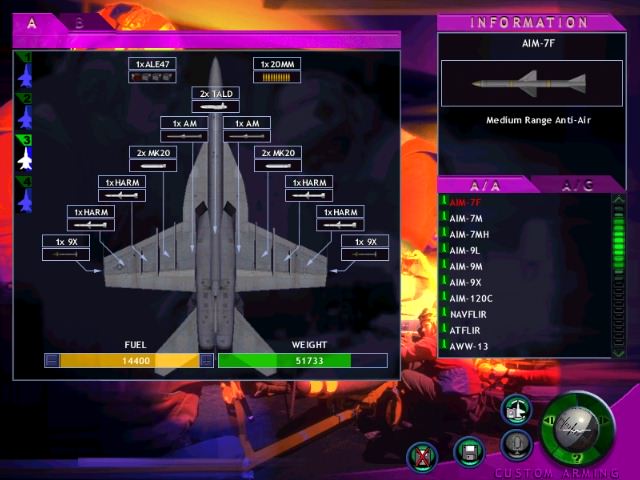
Next its off to the custom arming screen. The default loadout included
4 Mk20s. When your flight carries these up close and personal weapons
giving the command to attack ground targets will mean they will have to
take some serious risks. I allowed 3 and 4 to carry the Mk20s, but
changed my own and my wingman's loadout to standoff weapons
exclusively. My intention is to send 3 and 4 in close after taking out
all the SAM and radar emplacements possible from standoff position.
Wingman Menu
I have begun serious use of Game Commander
for virtually all my communications with wingmen, flight, tower, AWACS
etc. This means hands free comms and no need to be picking at the
keyboard. The only learning curve here is remembering the exact
structure of the command. If you program "Wingman Attack Ground" but
only remember to say "Attack Ground" you won't get any response from
the program.
Game Commander works beautifully with the menu system in FA 18.
Let's proceed now to the actual mission and I'll give you the play by
play.
When you enter the mission you will find youself on the carrier deck
watching the launch of your flight members. Your engines are already
humming. The "tower" will instruct you to release your wheel brakes
when you are ready to roll.
The first thing to do is to increase throttle to full afterburner. You
will hear your engines spool up, and then hear yourself call that your
engines are at full throttle. The tower will instruct you not to touch
the controls until you are off the deck. Your aircraft is controlled by
the flight computer until you touch the controls. A moment later you
will be launched down the CAT and fly off the deck.
If you don't pull your gear up manually the flight computer
will do so. I usually cut off the afterburner when I pass three hundred
knots. When I reach 10,000 feet I level off and continue on course at
about 75% power until I reach the push point. The lower power setting
means that my flight doesn't have to use their afterburners quite so
much in order to formate.
I then engage the Autopilot so that I can worry about other issues,
like configuring my flight systems and flight planning. In the screen
above you can see that I have configured my ALE-47 for SEMI-AUTO
operation (the REC means "receive mode") and the AP is engaged. I have
the SA MFD in my right display, the HARM "TOO" (target of opportunity)
mode in the left display and you can see by the HSI (lower center) that
I am dead on course at 46.9 miles and 5:38 from the next waypoint.
I ordered my flight nose cold and relied on AWACS for updates on air
activity. The target area remained quiet. The next shot is from a
screen taken a few minutes later as I approach the 15 mile mark from my
target waypoint. The HSI is in MAP and WPT mode and shows that the
target waypoint is actually about fifteen miles distant from the target
area. I took this shot just as I called "Orbit Here" to the Section,
which consisted of Raven 3 and 4.
My intention is to divide my flight into two attack groups and
attack the targets simultaneously from two different directions. I've
found that dividing the radar coverage of defensive systems increases
survivability for my flight as well as increasing the success of my
attack.
I brought my HSI display into my right MFD so that I could maintain
my orientation to the target waypoint. I then began my turn of about 60
degrees from the waypoint and proceeded ten miles further.
I think that the next time I fly this mission I would add an additional two waypoints, thus:
Additional Waypoints
As you can see above I have added waypoints 2 and 4, and the
original waypoint 2 has now been renumbered as 3. I placed the new
waypoint 2 at the edge of the furthest SAM threat circle. Now when I
reach waypoint 2 I can order 3 and 4 (the "section") to ORBIT and I
will know they are at a safe distance. I can then change my NAV
waypoint to number 4 and proceed on the edge of the SAM threat distance
to another position.
When I flew this mission the first time I turned toward waypoint 2 and
used HARM "TOO" mode to engage the surface threats when I had reached
approximately the position of waypoint 4 on the map above. After
launching my first three HARMs I turned away from the target, waited
approximately thirty seconds, then turned toward the target and ordered
my wingman to engage.
First HARMs Fired
When my wingman had used all his HARMs I used my final three, then
waited another thirty seconds and ordered the section to engage.
I decided to take a few shots of my HARM launches. They are quite
impressive at night! By the way, there are three or four HARM modes
including Self-Protect, Pre-Briefed and Target of Opportunity mode (SP
includes Pullback mode.)
This engagement procedure worked very well. I completed this mission
with no losses and all four of my flight returned safely to the
carrier. Mind you, we didn't have to deal with any air to air action
while engaging the ground targets.
The shot above shows me inbound about three miles from the carrier.
Note nose cold and ACL in the left display. The ILS HUD is up and shows
that I am almost on track.
The debrief gave me a good report, with "severe damage done to
the air defense sites." The detailed debrief page allows you to break
down the results by aircraft and target type. The next shot shows the
detailed debrief. The reason for the no hit A2G missile ratio on the
part of 3 and 4 appears to be that after my wingman and I had launched
12 HARMs there were no radar targets left!
Finally, I checked out the mission recorder feature after my return
to the carrier. Unfortunately, a bug in the beta prevented me from
seeing the land when I zoomed the display. The display shows you a top
down view of your mission, along with events logged with times in the
right hand list.