Title: Falcon 4.0: F4 Formation Flying Contracts By: Brandt 'Barbeque' Ryan Date: 1999-12-13 1440 Flashback:Orig. Multipage Version Hard Copy:Printer Friendly
When most people think of formation flying, they imagine the Blue
Angels or the Thunderbirds in their unbelievably pretty air shows. They
space their aircraft a mere three meters apart, and look like they
might be connected by some magnetic force that keeps them inseparably
together.
But I'm here to tell ya--formation flying ain't just for the air shows.
In order to maintain flight integrity, one of the most critical aspects
of a combat mission, formation flying remains the most fundamental
principal. Not only does it provide much needed Situational Awareness,
but also gives the pilot a feeling of being part of something that
transcends his lonesome cockpit. He is part of a tight unit, and
constantly has his attention on remaining an effective piece of the
overall tool called a flight.
It's just not acceptable to jump into a Falcon 4.0 mission and spend
ten minutes trying to find the other guy in your flight. How many times
have you called out your bull position, searching your radar high and
low, only to find out that your wingy is directly above you by 500
dangerously blind feet?
Formation Starts at Home
Formation flying begins on the tarmac when the wingy rolls into
fingertip position on his lead. From that point on, the wingy's main
responsibility is the stay in that position throughout the flight.
Since formation flying begins on the tarmac, let's start there, and
review the proper procedure.
Once the lead is in position on the runway, the wingy should
form up in a fingertip position upwind from him. You can check which
way the wind is blowing by displaying the CRUISE information on your
DED. An easy way to insure you're in proper fingertip position is to
line up next to your flight lead so that his rear landing gear wheels
seem to be just touching each other. Once in this position, the wingy
should call out "Two, in position!"
At this point, the lead calls out "Cowboy flight, run 'em up!",
and while holding down the wheel brakes, advances his throttle to 80%.
Two does the same, and after insuring all his flight controls are good,
calls "Two, ready!" Then the lead calls "Standby brakes....brakes now!"
and releases his wheel brakes, advancing his throttle to 88%, or for an
afterburner takeoff, full afterburner.
It is important to note here, that although the wingy can use the 88%
throttle, or afterburner as a guide, his main responsibility is to STAY
in position. If he needs to pull back on the throttle, or push it into
afterburner, that's fine. His main goal is to remain position, and can
do whatever he needs to do in order to stay in position. Finally, once
airborne, at 170 knots the lead calls out "Standby gear...." and at 180
knots calls out "Gear now!", whereupon both pilots pull up their gear.
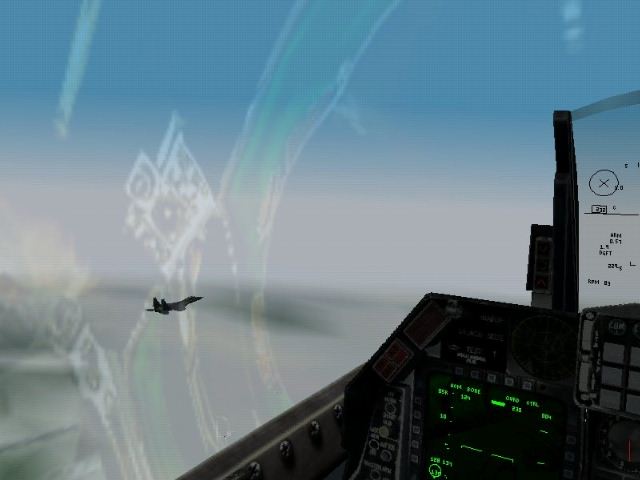
Using the virtual cockpit is essential to maintaining position.
Throughout the takeoff the wingy must be focused on his lead's
aircraft, constantly checking his instruments with one eye peeled on
his flight lead. The flight levels off at angels 20, and from the get
go, has remained in perfect formation. No need for smoke, no need for
bullseye position, no need for padlocking fifty aircraft that happen to
be loitering around the air base.
Single Ship Take-off
In the event that a formation take-off isn't possible (loadout
reasons, etc.), a single-ship takeoff may be necessary. Use your radar
to lock on to your lead, and get into position as soon as possible.
While undergoing training with a real F16 pilot, one of things that
surprised me was that throughout the entire flight, the wingy is
authorized to use full afterburner in order to get into position. Fuel
management is almost secondary to maintaining flight integrity.
In other words, getting into position quickly is more important than
unloading a lot of expensive fuel. Use maximum closure until you're one
mile in trail, and then use approximately 50 knots of overtake until
you're in position. If the lead calls out a "pince", and you're still
in trail, the "pince" ain't gonna happen. Maybe because the maneuver
couldn't be done, you both end up lawn darts. Go ahead and burn that
fuel to get into position--better to be low on fuel, and possibly have
to turn back early, than to be dead.
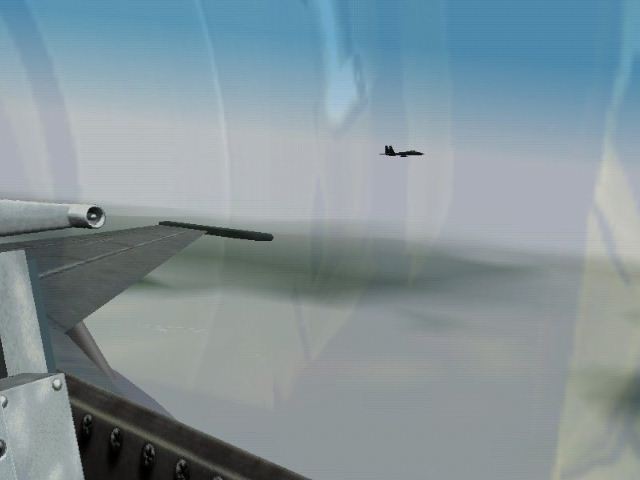
Unlike the air shows, combat formations don't set the aircraft
apart by just a few meters. Although flying in close formation is
impressive, and lots of fun, it isn't the most practical situation when
trying to score kills or trying not to be killed. Most of the time the
aircraft in the flight will be flying identical flight plans, and as a
result, can use certain HUD cues in order to maintain position without
having to padlock the lead aircraft.
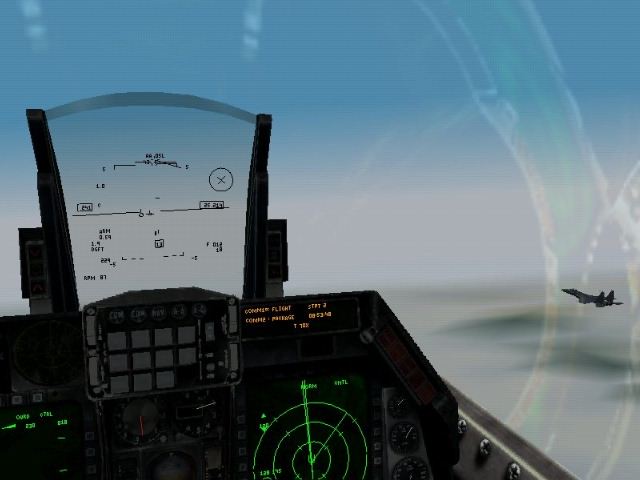
Obviously you'll have to be giving attention to the instruments in your
cockpit, and on your HUD. Use the steerpoint cue once you're in
position, and keep it centered there so that you are flying the same
heading at all times--this reduces the chance of floating too close or
too far from your lead. Periodically check your position with the
virtual cockpit, and make any necessary corrections.
Formation flying takes practice, and requires a lot of patience from
the pilot. I've found the best way to tune my formation flying is to
create a simple TE mission, and fly in the two slot. After a few hours
you'll begin to see dramatic improvements in your ability to stay in
position. Before you know it, you'll find yourself "stuck" in position
;)
But is all the practice worth it? Sure, it's nice to be able to stay
in position, and not have to spend ten minutes trying to find your
package--but is it really worth the effort from a tactical perspective?
Flying formation has to be an integral part of the contract you have
with your flight. Imagine the following scenario...
For the zillionth time you've just locked up a bandit at 40
miles, and your human wingy is somewhere behind you, completely out of
position. You go head to head with the bandits and Fox 3! at 30 miles,
barreling in for the kill while your wingy is trying to figure out what
you meant when you told him "Pitbull!" and "Lead sorted!". You blunder
into the fight with your wingy now completely blind, and you end up
getting smacked in the face by the enemy's wingy, who your wingy failed
to make a lawn dart. Sound familiar?
And then: "We'll get 'em next time bro -- keep on working on that brevity code I sent you."
Well gentlemen (and ladies ;), the days of the pay by the month
rent are over, and the full 2 year lease has arrived! I'm talking about
formation contracts here, specifically the contract that you agree to
with the other human beings in your flight. It isn't that complicated
-- a contract is just what you think it is -- a binding agreement
between two or more individuals.
If there is no formation flying going on, most of the contract is
useless. Flying formation is sort of like signing the contract -- if
your name isn't on it (i.e., you're not in position in the flight) than
it becomes sort of useless.
Before you even get on the tarmac, you should agree with the
rest of your flight as to airspeed and G numbers. For example, in
Tactical Formation, where the flight may be doing delayed 45 or 90
turns, or in-place 180 hook turns, it is very important to execute the
turns at the same airspeed and G -- otherwise when you roll out of the
turn you will no longer be in position. A standard contract of this
sort might be 400 knots, pulling 4 G's. Here's an example of why this
is so important.
Maintaining Tactical Formation
Let's say that in the scenario above, the flight was in perfect
spread (line abreast) formation when they encountered the bandits at 40
miles. The good guys get spiked at forty miles by a pair of Mig-19's.
Because the lead knows that Mig 19's can't reach out and touch them BVR
(beyond visual range), he makes a decision to launch some AIM-120's.
Knowing what the enemy jets are, and their capabilities (namely the
range at which they can KILL you) is called FBR, or Factor Bandit
Range. Look out for an upcoming article on this very important subject
in the weeks to come.
Now, once the AIM-120's go active (when the "A" counts down to
the "T", AKA as "Pitbull") the lead calls out for a 180 degree Hook
Turn. This hook turn will be done at precisely 400 knots, pulling 4
G's, thus rendering the flight still in formation, only heading away
from the bandits in the exact opposite direction. Two things could have
happened here.
Let's say that one of the Migs got smoked, but that the other one spoofed your missile, and is still in HOT on your flight.
In scenario #1, your flight is still in perfect formation because both
members abided to the contract. The lead is still getting spiked by the
remaining bandit, and calls for another Hook Turn back into the bandit.
Once the flight gets turned around, they are IMMEDIATELY in position to
make another action call, e.g. a pince.
They execute this maneuver in a timely fashion, keeping to their
contract, and easily get a kill on the last bandit. The important thing
here is that the flight remained in their formation throughout the
fight, thus making it possible for them to react almost instantly. The
reason they remained in position is because of the contract.
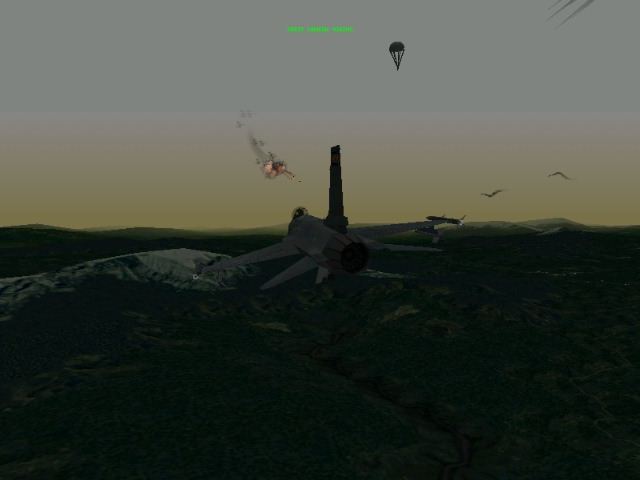
In scenario #2, your flight is NOT in proper position, and in fact,
the wingy is completely blind (has no idea where his lead is, and is
frantically trying to get some SA on the situation). Note here that
this bad situation has developed during the first Hook Turn. The lead
calls for the second Hook Turn back into the remaining bandit, and the
wingy is now "tumbleweeds", or completely lost (he doesn't know where
his lead is, OR where the bandit is.)
In the mean time, the Mig 19 has been in HOT on the wingy the
entire time, and has converted to his six to achieve the kill. The lead
realizes this situation a second too late, and can't do a thing about
it.
How did this happen? On the first Hook Turn, the wingy didn't hold to
his contract. He did the turn at 500 knots, and pulled on his stick for
all he was worth, throwing him WAY out of position on the initial turn.
Then he did the same on the second Hook Turn, nearly passing the bandit
that was in hot the whole time (and of course, he didn't even realize
this.)
This example should reinforce the importance of formation
flying -- in situation #1 the contract was upheld, and the good guys
got an easy kill. In situation #2...well, does the phrase "strafe rag"
come to mind?
It's really very simple. Without solid formation flying, and the contract, Air to Air maneuvers are useless.
Take a few hours to practice your tactical turns, and try to
stay within the limits of the contract -- after a little practice, the
turns become second nature to the point where you don't even have to
think about it. The payoff is huge!