
|
Formation Flying/Contracts By Brandt "Barbeque" Ryan, Falcon 4.0 Instructor Pilot |
||||
|
When most people think of formation flying, they imagine the Blue Angels or the Thunderbirds in their unbelievably pretty air shows. They space their aircraft a mere three meters apart, and look like they might be connected by some magnetic force that keeps them inseparably together. But I'm here to tell ya--formation flying ain't just for the air shows. In order to maintain flight integrity, one of the most critical aspects of a combat mission, formation flying remains the most fundamental principal. Not only does it provide much needed Situational Awareness, but also gives the pilot a feeling of being part of something that transcends his lonesome cockpit. He is part of a tight unit, and constantly has his attention on remaining an effective piece of the overall tool called a flight. It's just not acceptable to jump into a Falcon 4.0 mission and spend ten minutes trying to find the other guy in your flight. How many times have you called out your bull position, searching your radar high and low, only to find out that your wingy is directly above you by 500 dangerously blind feet? Formation Starts at Home Formation flying begins on the tarmac when the wingy rolls into fingertip position on his lead. From that point on, the wingy's main responsibility is the stay in that position throughout the flight. Since formation flying begins on the tarmac, let's start there, and review the proper procedure. Once the lead is in position on the runway, the wingy should form up in a fingertip position upwind from him. You can check which way the wind is blowing by displaying the CRUISE information on your DED. An easy way to insure you're in proper fingertip position is to line up next to your flight lead so that his rear landing gear wheels seem to be just touching each other. Once in this position, the wingy should call out "Two, in position!" At this point, the lead calls out "Cowboy flight, run 'em up!", and while holding down the wheel brakes, advances his throttle to 80%. Two does the same, and after insuring all his flight controls are good, calls "Two, ready!" Then the lead calls "Standby brakes....brakes now!" and releases his wheel brakes, advancing his throttle to 88%, or for an afterburner takeoff, full afterburner. It is important to note here, that although the wingy can use the 88% throttle, or afterburner as a guide, his main responsibility is to STAY in position. If he needs to pull back on the throttle, or push it into afterburner, that's fine. His main goal is to remain position, and can do whatever he needs to do in order to stay in position. Finally, once airborne, at 170 knots the lead calls out "Standby gear...." and at 180 knots calls out "Gear now!", whereupon both pilots pull up their gear. |
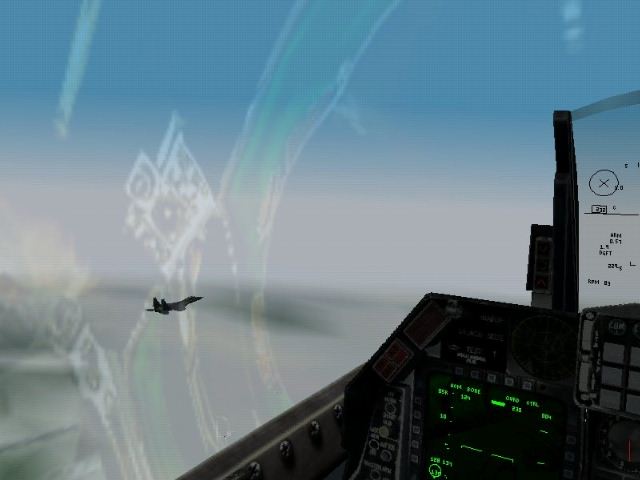 Using the virtual cockpit is essential to maintaining position. Throughout the takeoff the wingy must be focused on his lead's aircraft, constantly checking his instruments with one eye peeled on his flight lead. The flight levels off at angels 20, and from the get go, has remained in perfect formation. No need for smoke, no need for bullseye position, no need for padlocking fifty aircraft that happen to be loitering around the air base. Single Ship Take-off In the event that a formation take-off isn't possible (loadout reasons, etc.), a single-ship takeoff may be necessary. Use your radar to lock on to your lead, and get into position as soon as possible. While undergoing training with a real F16 pilot, one of things that surprised me was that throughout the entire flight, the wingy is authorized to use full afterburner in order to get into position. Fuel management is almost secondary to maintaining flight integrity. In other words, getting into position quickly is more important than unloading a lot of expensive fuel. Use maximum closure until you're one mile in trail, and then use approximately 50 knots of overtake until you're in position. If the lead calls out a "pince", and you're still in trail, the "pince" ain't gonna happen. Maybe because the maneuver couldn't be done, you both end up lawn darts. Go ahead and burn that fuel to get into position--better to be low on fuel, and possibly have to turn back early, than to be dead. Unlike the air shows, combat formations don't set the aircraft apart by just a few meters. Although flying in close formation is impressive, and lots of fun, it isn't the most practical situation when trying to score kills or trying not to be killed. Most of the time the aircraft in the flight will be flying identical flight plans, and as a result, can use certain HUD cues in order to maintain position without having to padlock the lead aircraft. Go to Part II.
|
|||
|
Copyright © 1997 - 2000 COMBATSIM.COM, INC. All Rights Reserved. Last Updated December 13th, 1999 |
||||