| Intercepting B17s in EAW
by Jerry Boucher |
||||
|
6) As soon as you pass the bombers break away and down from the formation, jinking as much as possible to spoil the aim of any gunners trying to fire on you. 7) Begin turning and climbing downwards once past the bombers, cut the throttle to 80% and call ground control for reinforcements. Next order your wingman to regroup, and select the pair of 20mm cannons. Check around you for any enemy fighters, and check the bomber formation to see how much damage your Staffel has inflicted. You may want to order them to target and engage the bombers again, and order in your 'Fighter Flight' if the escorts are causing too much trouble for your men. 8) Give your wingman time to regroup (by cutting the throttle) and continue keeping an eye out for enemy fighters. There are 2 options at this point: · If the bomber formation has stayed mostly intact, climb and order your Staffel to regroup. Once you have regrouped, press home a high-speed formation attack from above and to the rear of the bombers. · If the bomber formation is in various states of disarray, order your Staffel to attack, whilst you and your wingman head for 'Coffin Corner'. 'COFFIN CORNER' and Other Intercept Methods 'Coffin Corner' is the name given to the lowest level of the bomber formation, usually on the right-hand side as you approach from the rear. You should begin to head for the lowest three B-17s. A good approach is level or slightly below and to the right. The idea is to close at high speed and for you and your wingman to attack the B-17 on the far right. You should try to close to about 300m or less, opening fire with your pair of 20mm cannons, and then dive away to the right. (You must judge for yourself how safe it is to continue this attack prior to disengaging. A good basic rule is to continue until your start drawing too much fire, and/or are heading on a collision course.) When you break off, it is best to put this (hopefully) damaged bomber between you and the rest of the formation as you descend, as this seems to prevent other bombers firing accurately at you. Order your wingman to disengage and regroup as you make your way back to a similar starting position to the one you made on this attack run. |
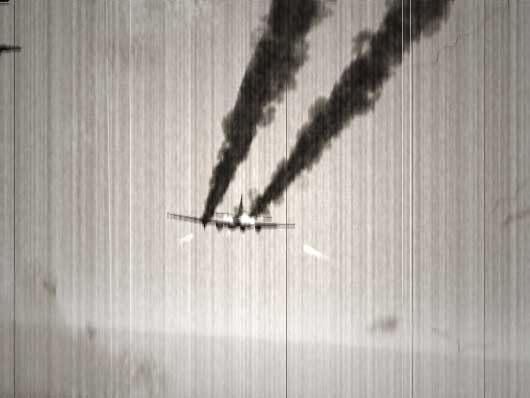
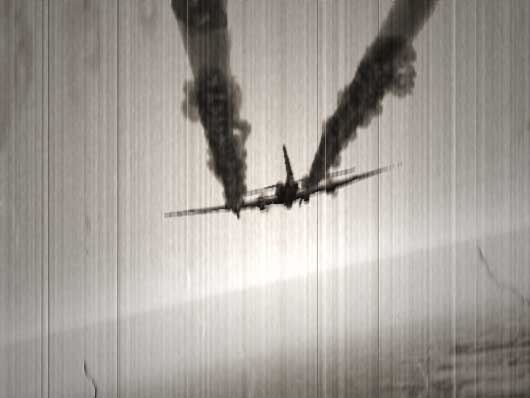
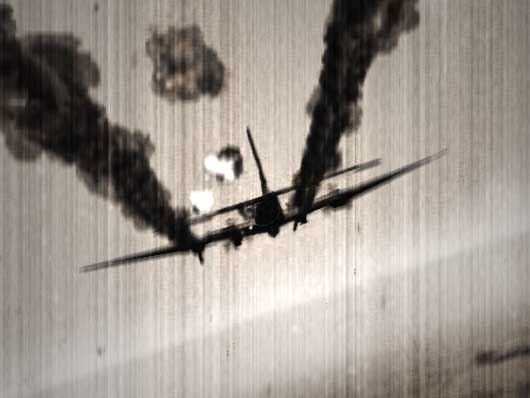
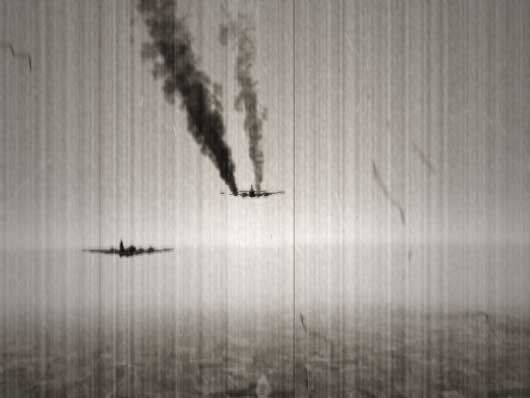
Pic4: Approaching the pair of stragglers, the target is the damaged B-17. My wingman was ordered to attack the second, undamaged plane. Bomber formations that have been mauled by successive fighter attacks often develop stragglers. One or two badly damaged bombers may break away from the main formation, or begin to lag behind. · The former are often tempting targets, and can be chased and shot down away from the protective fire from the rest of the formation. The only problem is that the chase can take you some distance away from the rest of the fighting. · The latter are prone to the same weaknesses, but are sometimes in formation with another bomber. If this happens, order your wingman to attack this other aircraft, and press home your attack on the damaged target. In Pics 4 to 9, you can see the approach and attack on a pair of such stragglers.
Pic5: Getting into a good firing postion. Luckily, the bomber to the left offers no opposition, perhaps because of crew casualties.
Go to Page Three
|
|||
|
Copyright © 1997 - 2000 COMBATSIM.COM, INC. All Rights Reserved. Last Updated April 26th, 1999 |
||||