| F4 SEAD Briefing, II by Dave Pascoe |
||||
|
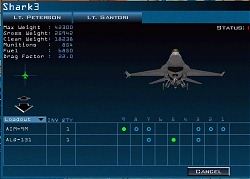
Introduction In part one of SEAD Briefing we flew a reconfigured SEAD mission to take out the Early Warning Radar near Ongjin on the coast. Bad decision making resulted in a failure of the mission and the loss of three aircraft. A subsequent mission was run in which we went feet wet at 300 feet, 600 knots and stayed there all the way to IP. The EW radar picked us up, and 20 miles after the push point interceptors decimated the flight once again. Caught low, we didn't have a chance, pretty much proving that if there aren't any mountains to hide behind, the EW radars are going to find us. SEAD III In this next attempt, we're determined to get it right. Now we think we know what works (after losing seven aircraft.) We forego the extra fuel this time and load up with Mavericks and AMRAAMs. That heavy load in the first missions proved fatal to our ability to defend ourselves. Tom Basham confirmed this in his recent article on the Falcon 4 website: Don't be a hero. Engage the necessary targets, drop your weapons and go home. Every time I've been shot down on a SEAD mission, it was the result of loitering over the target too long. By the time the you hear the ZSU-23s open fire, it's too late. With extra ordnance under the wing, the temptation is great to stick around and keep engaging targets, but doing so almost always results in simulated death. So above all else, I suggest you plan to take just enough ordnance for the assigned target--don't load your jet to max gross weight--and then drop it all on your target. You're more likely to kill the target in question and you'll spend less time in the combat area.
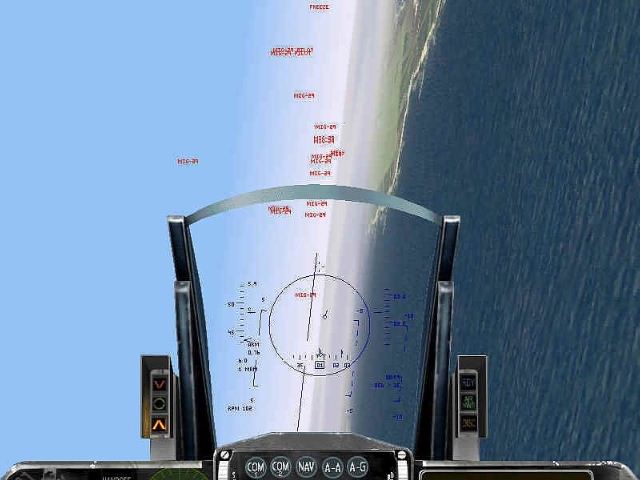
Loaded up, we'll go to the divert air base, which is closer, in the event we reach bingo fuel. Going feet wet at 2500, we enter a slow climb at high speed, determined not to get caught down on the deck again. The AI never runs the same mission twice. Although the mission started out looking much the same, it didn't last long. All seemed quiet on this run right past the push point when trouble was heard via the radio. Trouble is behind us and I had to turn and make a radar sweep to find the pesky MiG29's again escorting a flight of Tupelovs. As in the earlier flights they were not content to ignore us and broke off from their escort position. Had I ignored the radio warning, we would have been in big trouble. Instead, we shot first, splashed 'em and asked questions later.
 Only a hint of things to come, this is not exactly what I had hoped to see as we reached the IP. The radar and sky filled with yet another Cluster Foxtrot at 2 o'clock. One moment the sky was nearly empty, the next it was thick with aircraft. Do these guys scramble fast or what? Play by Play This time I do not hesitate, making an instant decision to designate and send my whole package after the threats. A quick radar sweep shows that five MiG29's are approaching the 40 mile range to the left but closing fast. Two F-15's are engaged, with one scoring a splash. Locking on, I call for the second element to attack. Another three MiG's are in range but moving to the right. I separate and bracket left, quickly lock up and light off an AIMer at the three to the right. |
At the same time, I'm keeping an eye on the target location. Clearly the odds are against us and any sensible lead would abort. However, our strategy from the start was to keep any interceptors sufficiently engaged to allow me to break out of the fight, swoop down and nail the target radar. In order to do this, my timing is critical; I must be positioned so that I can launch missiles at the attackers, wait for them to go autonomous, break off and be properly aligned with the target. If this fails, the mission will fail. Not waiting to see the results of my shot, I brake, turn 90 degrees and head on in to the target, now within optimal range with a good line up. The three in-range MiG's have to contend with my guys on the attack, but I keep my wingman for cover. Calling him to clear six keeps him with me. Having checked the threat ranges carefully, I estimate closure rates and figure I have at least a minute to get in and out. That's adequate. 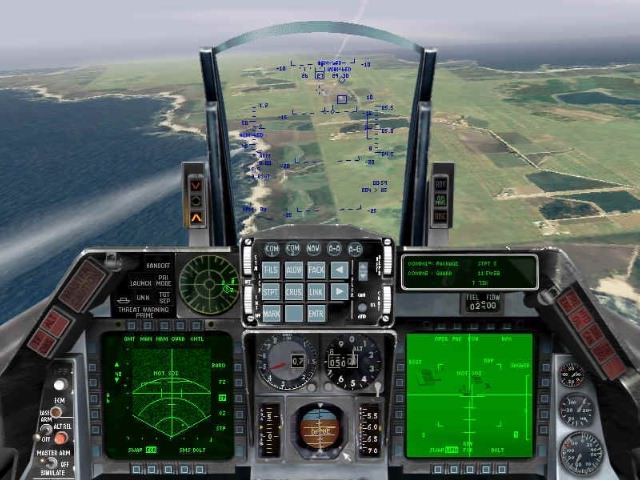 I never did actually see the radar antenna at the site. There's something that looks like a water tower - I suppose they could conceal it as a water tower -- but since I've got six Mavs, I'm going to spray the whole compound. There won't be much left after that.
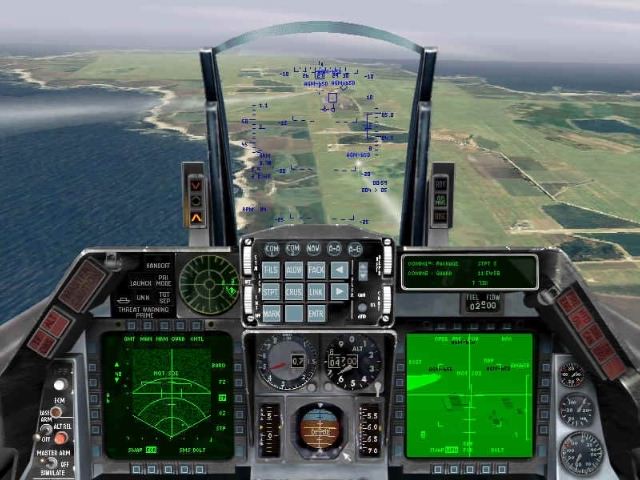 Life is lovely. Mav #1 is off, the sky looks good around me and I have time to pickle four more Mavericks. The explosions are pretty substantial and I'm feeling confident that either the radar antenna or the support systems are now smoking rubble. It later turned out that the thing that looked like an old, wooden water tower was indeed the radar, same as the one at T'aesong. If all my radio commands worked, I would have told wingie to go ladder, but they don't. Clearing the target at low altitude, I don't see the AAA guns anymore, but off to my right at nine o'clock another enemy flight is closing fast, now within range for radar missiles. No problem, I'm still at 560 knots from the dive and I can outrun them. The good news is that I bank hard and they never get off a shot. The bad news is that as I pull G's, I'm headed smack into more converging interceptors, altogether too close aboard. Incredibly, my package is intact and blowing off bandits admirably. Equally incredible are another four MiG29's that are on us in a heartbeat. No time to designate, I call "clear six " again. Go to Page 2, Part II
|
|||
|
Copyright © 1997 - 2000 COMBATSIM.COM, INC. All Rights Reserved. This site has been designed to work best with a 1024 X 768 screen resolution. Last Updated April 14th, 1999 |
||||