|
Programming with Saitek Gaming Extensions
Kurt 'Froglips' Giesselman |
||||
|
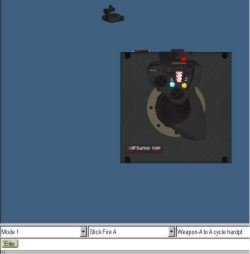 Fig. 6. GUI Button Select 3. The first drop down menu shows which mode is selected. There will be three (pinkie switch as action button), or six modes (pinkie switch as shift) available. The second drop down menu displays the control button, hat, rotary, or switch selected. A third drop down menu appears when you select a button, slider, hat, or rotary. The third menu displays the command currently assigned to the control in this mode. Pulling down will show a list of all the commands created in the command editor. Right clicking on the selected control will allow you access to 'Properties'. Click on it to show the interface below. 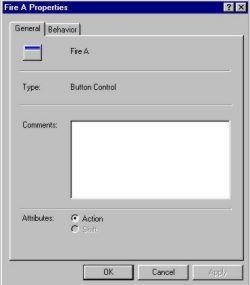 Fig. 7. GUI Properties.
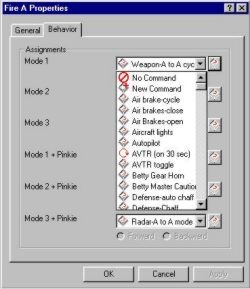
Selecting the behavior tab will bring up the window shown below for a button. The windows for rotaries and three position switches look quite different. We will discuss them later. In the button GUI all possible modes are displayed.
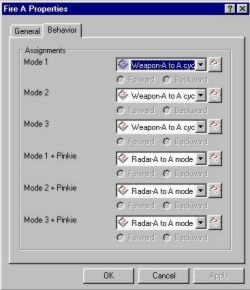 Fig. 8. GUI Behavior. |
A drop down menu next to each mode provides access to all your previously created commands. It is possible to add new commands or select No Command.
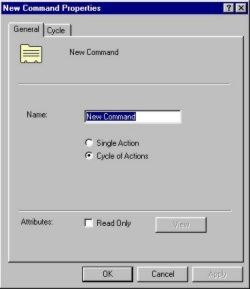
The new command function is very useful feature of the SGE GUI. You can create new commands made up from combinations of your basic command list or create a list of commands that are carried out sequentially every time the button, rotary, hat, or three-way switch is triggered. Here are two examples of the power of this tool. Begin by selecting the Launch button as described above. Use the drop down menu for Mode 3 (this is an Air to Ground mode in my Falcon 4 setup) to select New Command.
Select Single Action then View. In my Falcon configuration file I have the AVTR (mission recorder) turn on for 30 seconds whenever I pickle an air to ground weapon. This automatically records every bombing run so I can review it after the flight. Select Simple Editor, click on the programming area, press space, press F, and press F again. Switch to the Advanced Editor and increase the delay for the second 'F' to be sent to 30 (get the clock icon, drag it to the right to increase the delay). Go to the release section and remove the second 'F' release.
When you are done the Advanced Editor command should look something like this.
Now lick OK.
|
|||
|
Copyright © 1997 - 2000 COMBATSIM.COM, INC. All Rights Reserved. |
||||

